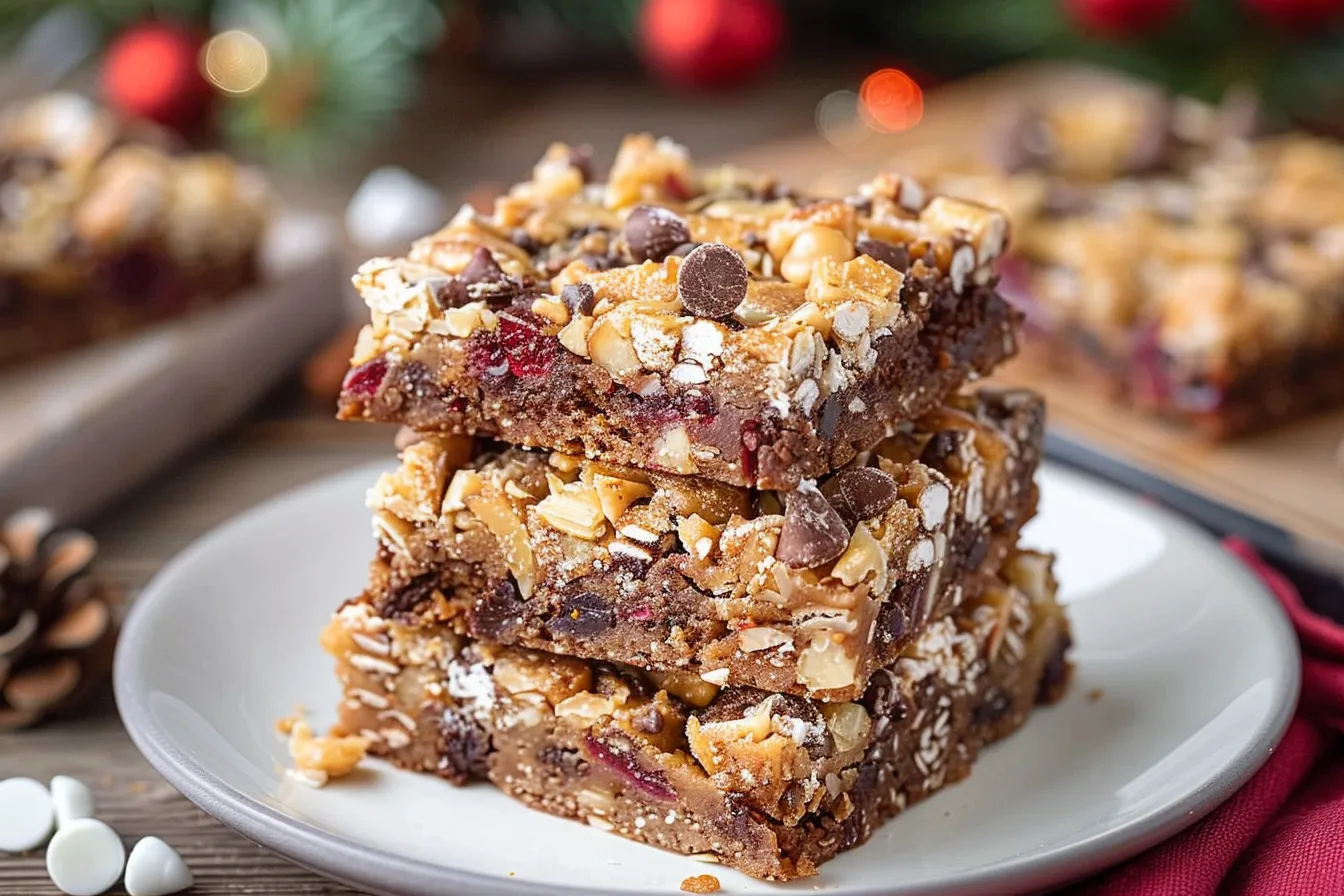
The holidays are a time for traditions, for warmth, and for creating memories that last a lifetime. And what better way to do that than with a batch of Christmas Magic Cookie Bars? These aren’t just any dessert; they’re a symphony of sweet, salty, and crunchy textures, all layered together to create a flavor explosion that screams “Christmas!”. Imagine the delight on your loved ones’ faces as they bite into these decadent bars, the perfect treat to share with family and friends around a crackling fire.
As a seasoned baker and recipe developer, I’ve spent years perfecting this recipe. I’ve tested different ingredients, experimented with baking times, and tweaked the ratios until I achieved cookie bar perfection. I understand the science behind each ingredient and how they interact to create the ultimate Christmas Magic Cookie Bar. I am happy to share my experience with you!
This year, Magic Cookie Bars are trending again, popping up on Pinterest boards and Instagram feeds everywhere. Why? Because they’re incredibly easy to make, endlessly customizable, and deliver that comforting holiday feeling with every bite. They’re perfect for gift-giving, holiday potlucks, or simply enjoying a sweet treat on a cozy winter evening. So, let’s get baking and bring some Christmas magic into your kitchen!
Ingredients for Christmas Magic Cookie Bars
The beauty of Christmas Magic Cookie Bars lies in their simplicity. With just a handful of readily available ingredients, you can create a dessert that’s both impressive and incredibly delicious. Each ingredient plays a vital role in the overall flavor and texture of the bars.
- Graham Cracker Crumbs: These form the base of our bars, providing a slightly sweet and sturdy foundation. The texture complements the other layers. Consider using gluten-free graham crackers for a gluten-free version.
- Melted Butter: Binds the graham cracker crumbs together and adds richness and flavor. Unsalted butter is recommended so you can control the salt level. If you use salted butter, omit the pinch of salt in the recipe.
- Sweetened Condensed Milk: This is the magic ingredient! It creates a luscious, caramel-like consistency as it bakes, holding all the other layers together. Look for full-fat sweetened condensed milk for the best results.
- Chocolate Chips: Semi-sweet chocolate chips are a classic choice, but you can use milk chocolate, dark chocolate, or even a combination. Chocolate chips provide a sweet and slightly bitter contrast to the other sweet elements in the bars.
- Shredded Coconut: Adds a chewy texture and tropical flavor. Use sweetened shredded coconut for extra sweetness, or unsweetened if you prefer a less sweet bar. Toasting the coconut before adding it to the bars will enhance its flavor.
- Chopped Nuts: Pecans and walnuts are traditional choices, but feel free to experiment with other nuts like almonds, macadamia nuts, or even pistachios. Nuts add a delightful crunch and nutty flavor.
- Sea Salt: A pinch of sea salt enhances the sweetness of the other ingredients and balances the overall flavor profile. Don’t skip this!
Ingredient Science: The sweetened condensed milk undergoes a Maillard reaction during baking, which is a chemical reaction between amino acids and reducing sugars that gives browned food its distinctive flavor. This is what creates the delicious caramel-like taste and texture in the bars.
Substitution Tips:
- Vegan Option: Substitute vegan graham crackers, vegan butter, vegan sweetened condensed milk (available at many health food stores), and vegan chocolate chips.
- Nut-Free Option: Omit the nuts altogether or substitute with toasted sunflower seeds or pumpkin seeds.
- Graham Crackers: Substitute with digestive biscuits or shortbread cookies.
Expert Tips for Perfect Magic Cookie Bars
Through years of baking and testing, I’ve discovered some key tips to ensure your Christmas Magic Cookie Bars turn out perfectly every time.
- Don’t Overbake: Overbaking will result in dry, crumbly bars. The bars are done when the edges are golden brown and the center is slightly soft but set.
- Press the Graham Cracker Crust Firmly: This will create a solid base that won’t crumble when you cut the bars. Use the bottom of a measuring cup to press the crumbs evenly.
- Even Layering is Key: Distribute the chocolate chips, coconut, and nuts evenly over the graham cracker crust to ensure every bite is filled with flavor.
- Customize to Your Taste: Feel free to experiment with different ingredients and flavor combinations. Add a layer of caramel, butterscotch chips, or even dried cranberries for a festive twist.
- Let Cool Completely Before Cutting: This is crucial! The bars need to cool completely for the sweetened condensed milk to set properly. Otherwise, they will be gooey and difficult to cut.
- Use Parchment Paper: Line your baking pan with parchment paper for easy removal and clean-up. Leave an overhang of parchment paper on the sides of the pan to create “handles” for lifting the bars out.
- Toast the Nuts and Coconut: Toasting the nuts and coconut brings out their flavor and adds a deeper, more complex flavor profile to the bars.
FAQ About Christmas Magic Cookie Bars
Can I make these bars ahead of time?
Absolutely! Christmas Magic Cookie Bars are a great make-ahead dessert. Once baked and cooled, you can store them in an airtight container at room temperature for up to 3 days, or in the refrigerator for up to a week. You can also freeze them for longer storage (see freezing instructions below).
How do I prevent the graham cracker crust from being soggy?
The key is to ensure the graham cracker crumbs are finely ground and mixed thoroughly with the melted butter. Press the mixture firmly and evenly into the baking pan. Baking the crust for a few minutes before adding the other toppings can also help to prevent sogginess.
Can I use a different type of chocolate chip?
Definitely! Feel free to experiment with different types of chocolate chips, such as milk chocolate, dark chocolate, white chocolate, or even peanut butter chips. You can also use chocolate chunks or chopped chocolate bars for a more intense chocolate flavor.
Can I freeze Christmas Magic Cookie Bars?
Yes, you can freeze them for up to 2-3 months. Cut the cooled bars into squares and wrap them individually in plastic wrap. Place the wrapped bars in a freezer-safe container or bag. Thaw them at room temperature before serving.
What is the best way to cut these bars neatly?
The best way to cut the bars neatly is to let them cool completely before cutting. Use a sharp knife and wipe it clean between each cut. You can also run the knife under hot water for a cleaner cut.
Can I add other toppings to these bars?
Absolutely! This recipe is very versatile, and you can customize it to your liking. Consider adding other toppings such as dried cranberries, toffee bits, peanut butter chips, or a drizzle of melted chocolate.
Why are my bars too gooey?
This usually happens if the bars are not baked long enough or if they are not cooled completely before cutting. Make sure to bake the bars until the edges are golden brown and the center is set. Let them cool completely for several hours or even overnight before cutting.
Share the Christmas Magic
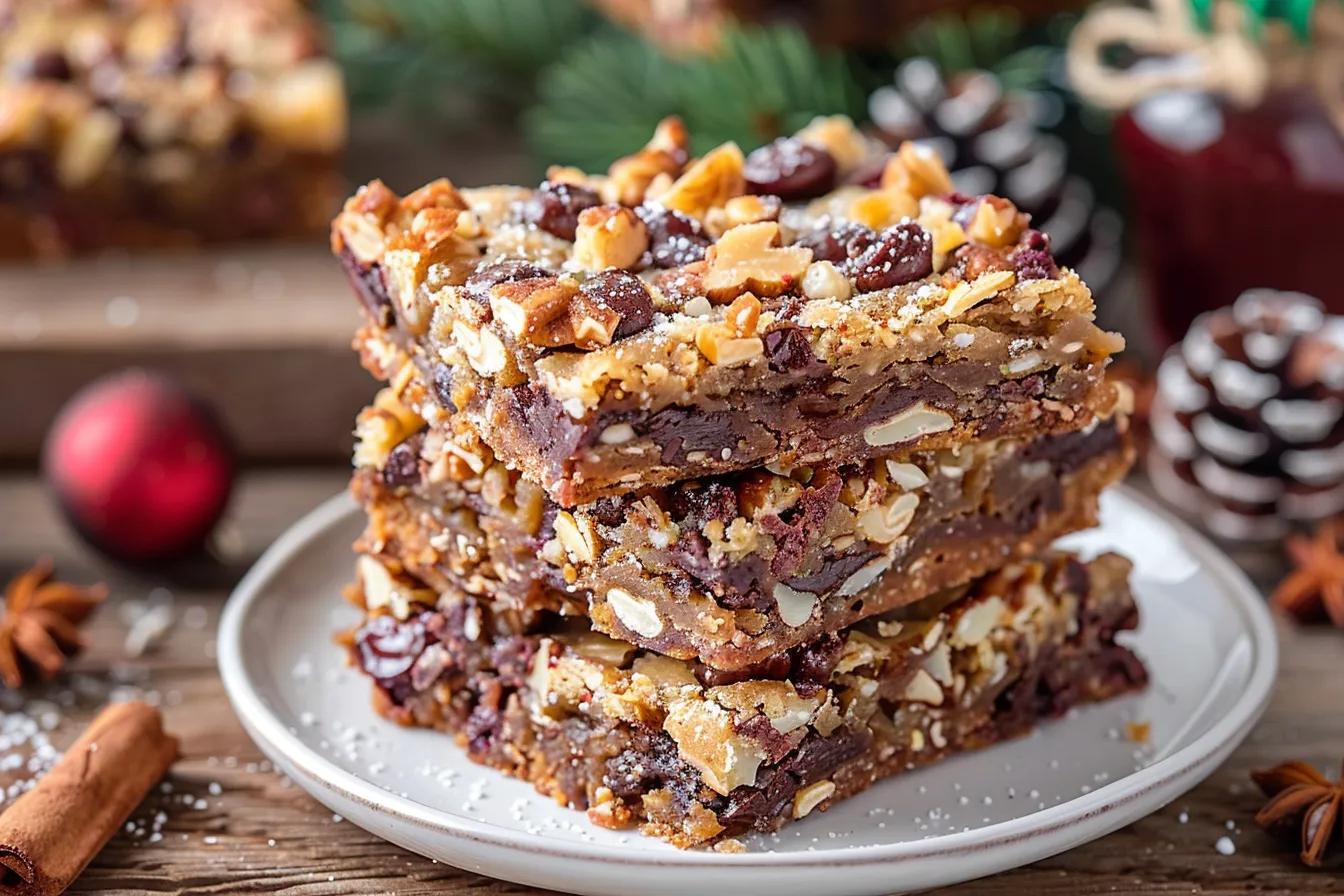
Christmas Magic Cookie Bars are more than just a dessert; they’re a symbol of the joy, warmth, and connection that we cherish during the holiday season. They’re easy to make, endlessly customizable, and guaranteed to bring smiles to the faces of your loved ones. With this recipe, you are sure to impress everyone this season!
So, this holiday season, gather your ingredients, preheat your oven, and let the magic begin! Bake a batch of these delightful bars and share them with your family and friends. Spread the Christmas spirit one delicious bite at a time.
Don’t forget to share your creations! Tag me on social media [your social media handles] and let me know how your Christmas Magic Cookie Bars turned out. I’d love to see your festive variations and hear your holiday stories. Happy baking!
Enjoyed this recipe? Check out these other holiday favorites:
`


