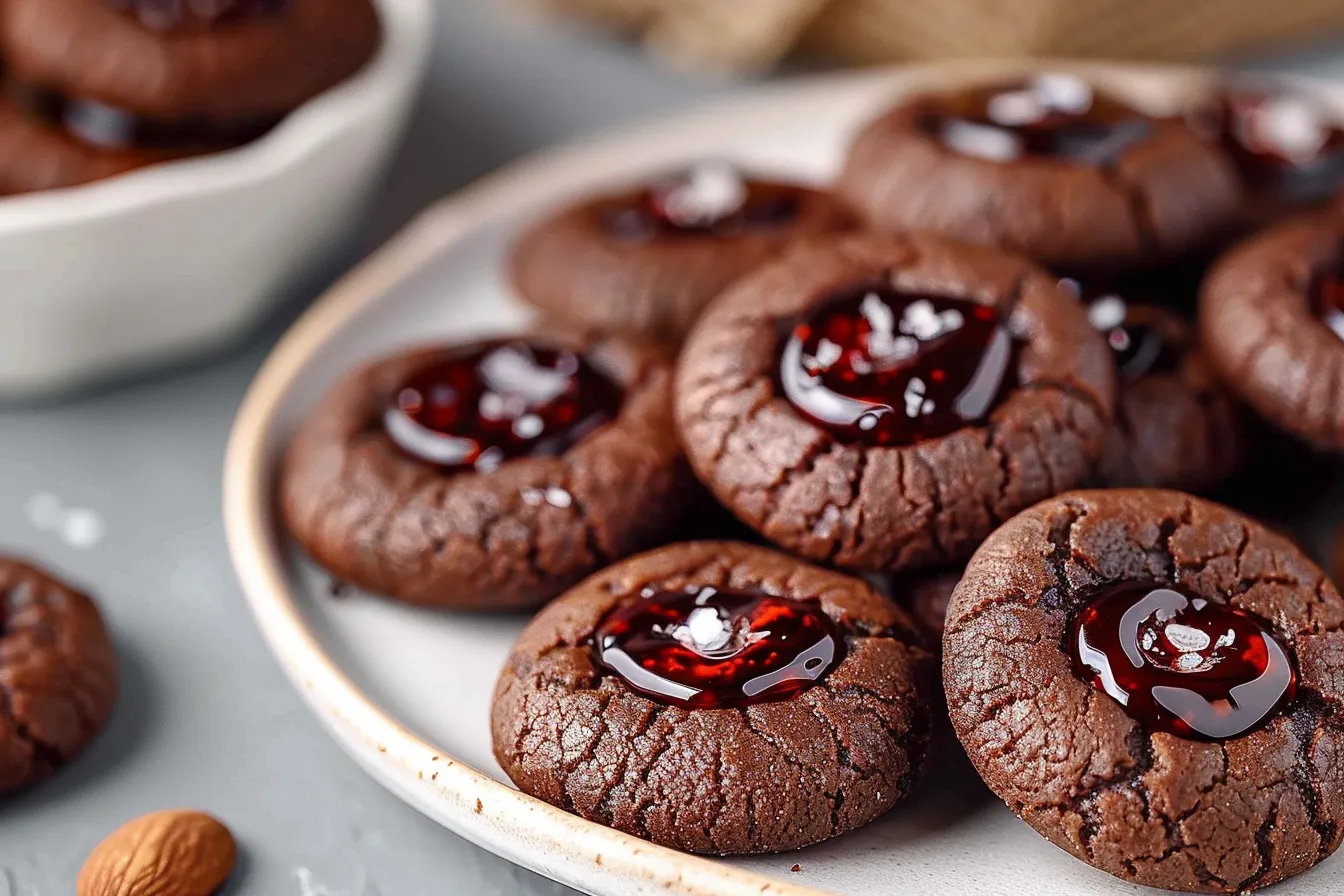
Is there anything more comforting than a warm, freshly baked cookie? Especially when that cookie involves chocolate! These Chocolate Thumbprint Cookies take the classic thumbprint cookie and elevate it with rich, decadent chocolate flavor. Imagine sinking your teeth into a buttery, slightly crumbly chocolate cookie, topped with a sweet and luscious filling. Perfect for holiday baking, a cozy afternoon treat, or just a little something to brighten your day, these cookies are incredibly easy to make and even easier to devour. The allure of these cookies lies in their simplicity, making them a perfect activity for bakers of all skill levels. This recipe is updated for 2024 with tips for achieving the perfect soft texture, incorporating trending ingredients like dark cocoa powder, and a delightful range of filling options to suit every taste.
My love affair with baking started with simple cookies, and thumbprints were always a favorite. I’ve spent years perfecting this chocolate version, tweaking the recipe to achieve that perfect balance of rich chocolate flavor and delicate texture. I’m thrilled to share my tips and tricks so you can bake these delightful cookies with confidence! So, grab your ingredients, preheat your oven, and let’s get baking!
Ingredients for the Perfect Chocolate Thumbprint Cookies
The quality of your ingredients truly impacts the final outcome. Let’s break down each component and explore some smart substitutions.
- All-Purpose Flour: The foundation of our cookies, providing structure. Bleached or unbleached works, but I prefer unbleached for its slightly nuttier flavor. For a gluten-free option, use a 1:1 gluten-free flour blend.
- Cocoa Powder: This is where the chocolate magic happens! I recommend using Dutch-processed cocoa powder for a richer, less bitter flavor and a darker color. Natural cocoa powder will also work, but your cookies might be slightly lighter in color and have a more acidic taste. Using a high-quality dark cocoa powder has become trendy for its intense flavor and beautiful dark hue.
- Unsalted Butter: Essential for creating that melt-in-your-mouth texture. Make sure it’s softened to room temperature for easy creaming. If you only have salted butter, reduce the salt in the recipe by ¼ teaspoon.
- Granulated Sugar: Adds sweetness and helps create a crisp edge.
- Brown Sugar: Adds moisture and a chewy texture. I prefer light brown sugar, but dark brown sugar can be used for a more intense molasses flavor.
- Egg: Binds the ingredients together and adds richness.
- Vanilla Extract: Enhances the chocolate flavor. Use pure vanilla extract for the best results.
- Salt: Balances the sweetness and enhances the other flavors.
- Baking Soda: Helps the cookies rise and creates a slightly chewy texture.
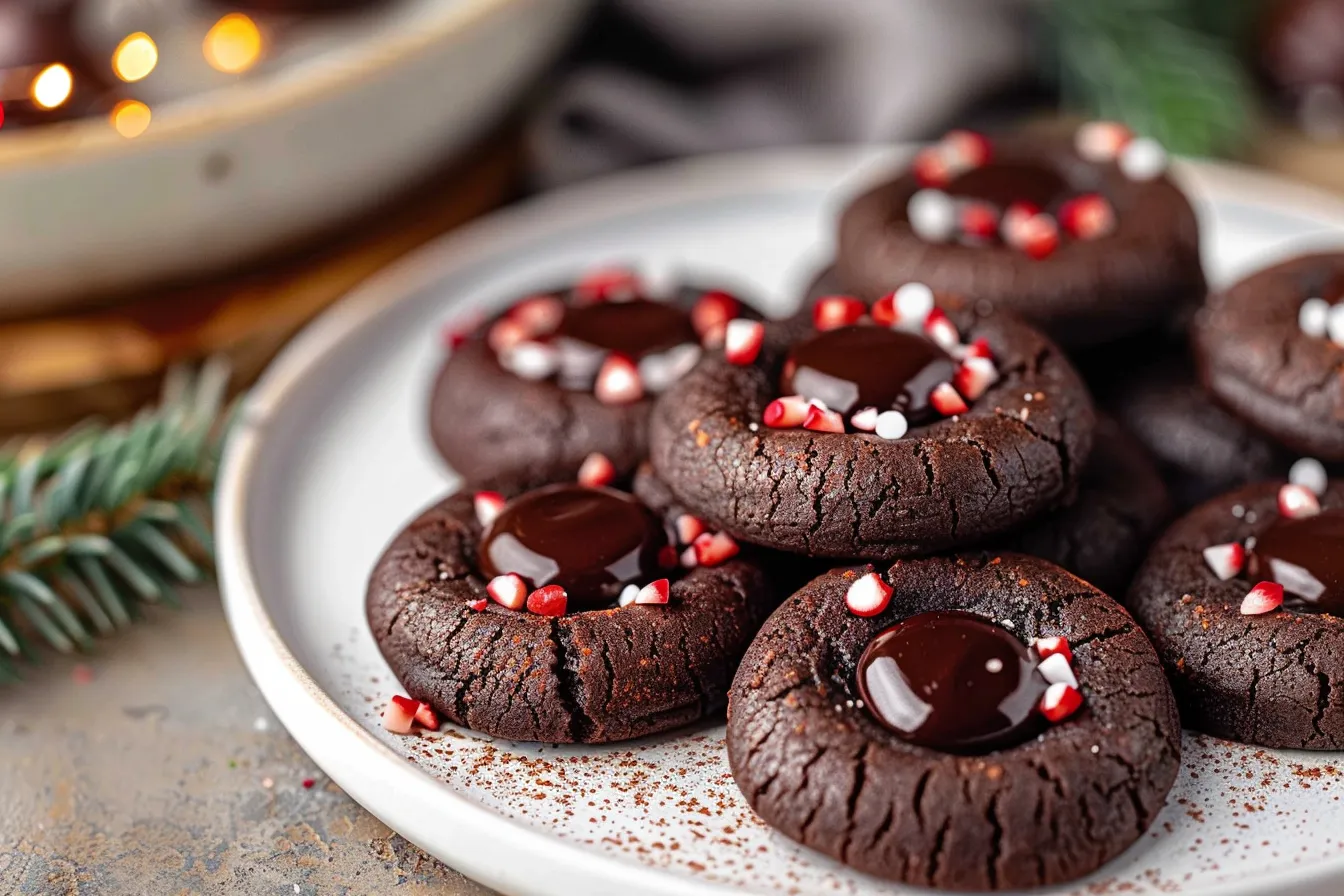
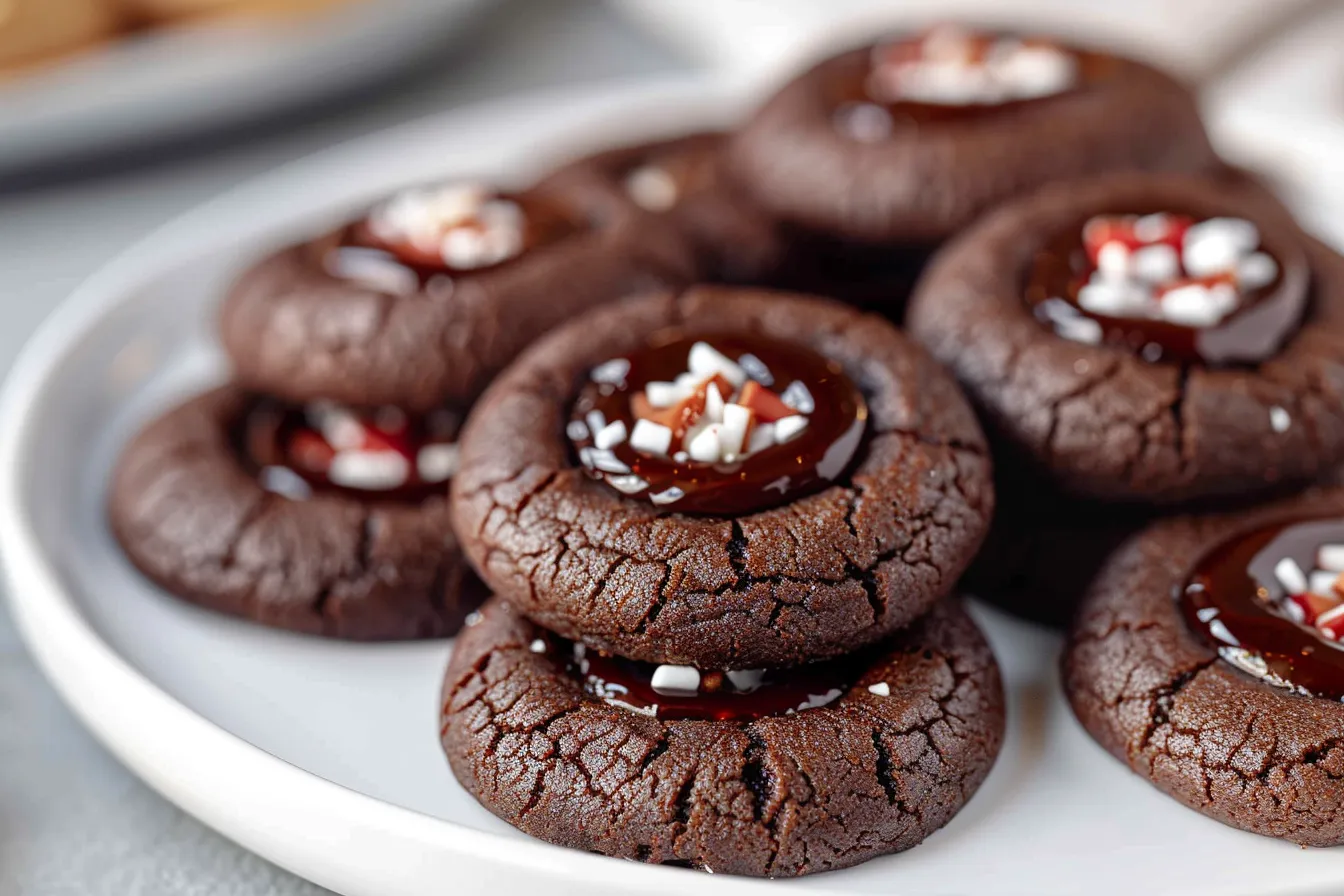
- Filling: Get creative! Jams, preserves, chocolate ganache, peanut butter, Nutella, or even a simple frosting are all delicious options. You can also use chocolate kisses pressed into the center after baking!
Step-by-Step Instructions: Baking Bliss
Ready to turn these ingredients into delectable cookies? Follow these simple steps, and you’ll be enjoying warm chocolate thumbprint cookies in no time! Remember, baking is a science, but it’s also an art – don’t be afraid to experiment and adjust to your own preferences!
- Preheat and Prep: Preheat your oven to 350°F (175°C). Line baking sheets with parchment paper or silicone baking mats. This prevents sticking and makes cleanup a breeze.
- Cream Butter and Sugars: In a large bowl, cream together the softened butter, granulated sugar, and brown sugar until light and fluffy. This usually takes about 3-5 minutes. Use an electric mixer for best results, but you can also do it by hand (just be prepared for a workout!).
- Add Egg and Vanilla: Beat in the egg and vanilla extract until well combined. Make sure to scrape down the sides of the bowl to ensure everything is evenly mixed.
- Combine Dry Ingredients: In a separate bowl, whisk together the flour, cocoa powder, baking soda, and salt. This ensures the dry ingredients are evenly distributed.
- Gradually Add Dry Ingredients to Wet Ingredients: Gradually add the dry ingredients to the wet ingredients, mixing on low speed until just combined. Be careful not to overmix, as this can lead to tough cookies.
- Chill the Dough: Wrap the dough in plastic wrap and chill for at least 30 minutes. This helps prevent the cookies from spreading too much during baking. Chilling is crucial, especially if your kitchen is warm.
- Shape the Cookies: Roll the dough into 1-inch balls. Place them on the prepared baking sheets, leaving about 2 inches between each cookie.
- Make the Thumbprint: Use your thumb (or the back of a small spoon) to make an indentation in the center of each cookie.
- Bake: Bake for 8-10 minutes, or until the edges are set and the centers are slightly soft. Don’t overbake! These cookies are best when they are slightly underbaked.
- Add Filling: Remove the cookies from the oven and immediately fill the thumbprint indentations with your desired filling. If using chocolate kisses, gently press them into the center of each cookie.
- Cool: Let the cookies cool on the baking sheets for a few minutes before transferring them to a wire rack to cool completely.
Expert Tips for Chocolate Thumbprint Cookie Perfection
Through countless batches, I’ve learned a few tricks to ensure these cookies turn out perfectly every time.
- Don’t Overmix: Overmixing develops the gluten in the flour, resulting in tough cookies. Mix until just combined.
- Chill the Dough: This is crucial! Chilling prevents the cookies from spreading too much and helps develop the flavor.
- Use Room Temperature Ingredients: Softened butter and a room temperature egg will incorporate more easily and create a smoother dough.
- Don’t Overbake: These cookies are best when they are slightly underbaked. They will continue to set up as they cool.
- Experiment with Fillings: The possibilities are endless! Try different jams, preserves, chocolate ganache, peanut butter, or even a simple frosting. Consider seasonal fillings like pumpkin butter in the fall or lemon curd in the spring.
- Elevate with Finishing Touches: Before baking, consider rolling the dough balls in sprinkles, chopped nuts, or sanding sugar for an extra touch of visual appeal. A dusting of powdered sugar after baking also adds a beautiful finish.
Storage and Substitutions for Chocolate Thumbprint Cookies
Want to make these cookies ahead of time? Need to make some substitutions? Here’s what you need to know.
- Storage: Store cooled cookies in an airtight container at room temperature for up to 3 days. For longer storage, freeze the cookies for up to 2 months. Thaw completely before serving.
- Make-Ahead: The dough can be made ahead of time and stored in the refrigerator for up to 2 days. Let the dough soften slightly before rolling into balls.
- Gluten-Free: Use a 1:1 gluten-free flour blend in place of the all-purpose flour.
- Dairy-Free: Use a dairy-free butter substitute in place of the butter.
- Egg-Free: Use an egg replacer or ¼ cup of applesauce in place of the egg.
- Nut-Free: Be mindful of your fillings! Choose nut-free jams, preserves, or chocolate ganache made without nuts.
Frequently Asked Questions About Chocolate Thumbprint Cookies
Why are my cookies spreading too much?
This is usually due to the butter being too warm or not chilling the dough. Make sure your butter is softened but not melted, and chill the dough for at least 30 minutes before baking. You can also try adding a tablespoon or two of flour to the dough if it seems too wet.
Can I use a different type of filling?
Absolutely! The filling is where you can really get creative. Jams, preserves, chocolate ganache, peanut butter, Nutella, or even a simple frosting are all delicious options. Consider seasonal fillings to match the time of year.
How do I prevent the filling from overflowing?
Don’t overfill the thumbprint indentations. A small amount of filling is all you need. Also, make sure the cookies are completely cool before adding the filling, as the heat can cause the filling to melt and spread.
Can I freeze these cookies?
Yes! These cookies freeze beautifully. Store them in an airtight container for up to 2 months. Thaw completely before serving.
Why are my cookies dry?
This is usually due to overbaking or using too much flour. Make sure to measure your flour accurately (spoon it into the measuring cup and level it off) and don’t overbake the cookies. They should be slightly soft in the center when you take them out of the oven.
Can I add chocolate chips to the dough?
Yes, you can! Fold in about ½ cup of chocolate chips to the dough before chilling. Mini chocolate chips work best.
What’s the best way to make the thumbprint indentation?
I find that using my thumb works best, but you can also use the back of a small spoon or a measuring spoon. Just be gentle and don’t press too hard, or you’ll crack the cookies.
Alt-text: A festive display of chocolate thumbprint cookies on a holiday-themed platter, arranged with cranberries and sprigs of rosemary.
Share the Sweetness
These Chocolate Thumbprint Cookies are a delightful twist on a classic, perfect for any occasion. With their rich chocolate flavor, tender crumb, and endless filling possibilities, they’re sure to become a new favorite in your baking repertoire. Remember, baking is about more than just following a recipe; it’s about creating something special to share with loved ones. So, gather your ingredients, preheat your oven, and spread the joy with these irresistible cookies.


