There’s a special kind of comfort found in the simple perfection of a chewy peanut butter cookie. It’s more than just a sweet treat; it’s a taste of nostalgia, a warm hug in dessert form. For me, Sophie, the quest for the ultimate chewy peanut butter cookie became a bit of an obsession. I wanted a cookie that was deeply nutty, incredibly soft, and had a satisfying chew that lasted long after the first bite.
After testing this recipe more than nine times—adjusting sugars, resting times, and leavening agents—I finally landed on this foolproof version. It’s the one my family requests for every gathering, the one that disappears from the cookie jar in record time. And today, I’m so excited to share all my secrets with you.
This isn’t your average dry, crumbly peanut butter cookie. This is the one you’ve been searching for.
Why This is the Only Peanut Butter Cookie Recipe You’ll Ever Need
I designed this recipe to be as straightforward as it is delicious. It’s perfect for beginner bakers and seasoned pros alike.
- Unbeatable Chewy Texture: The specific ratio of brown sugar to cane sugar, combined with a short rest time, creates a cookie that’s soft in the middle with delightfully chewy edges.
- Intense Peanut Butter Flavor: We’re not shy with the peanut butter here! This recipe delivers that rich, roasted flavor you crave.
- No Long Chill Time: Forget waiting hours for your dough to chill. A quick 30-minute rest at room temperature is all you need to achieve baking perfection.
- Simple, Everyday Ingredients: You likely have everything you need to make these cookies in your pantry right now.
- Picture-Perfect Results: My secret trick for getting perfectly round cookies every time is a game-changer!
What You’ll Need: The Building Blocks of Perfection
Every ingredient in this recipe plays a crucial role. Let’s break down why we use each one to build the ultimate cookie.
The Fats: Butter & Peanut Butter
The foundation of any great cookie starts with its fats. For this recipe, we use a combination of unsalted butter and smooth peanut butter.
- Unsalted Butter: Using unsalted butter gives you complete control over the saltiness of your final product. It should be softened to room temperature to cream properly with the sugars, creating air pockets that give the cookies a light yet chewy structure.
- Smooth Peanut Butter: I recommend using a conventional, processed smooth peanut butter like Jif or Skippy. These have stabilizers that prevent oil separation, ensuring a consistent, tender dough. Natural peanut butters can be too oily and make the cookies greasy and crumbly.
A Tale of Two Sugars
Why use both cane sugar and light brown sugar? It’s all about texture and flavor!
- Light Brown Sugar: This is our key to chewiness. The molasses in brown sugar adds moisture and a slight acidity that reacts with the baking soda, resulting in a softer, chewier cookie.
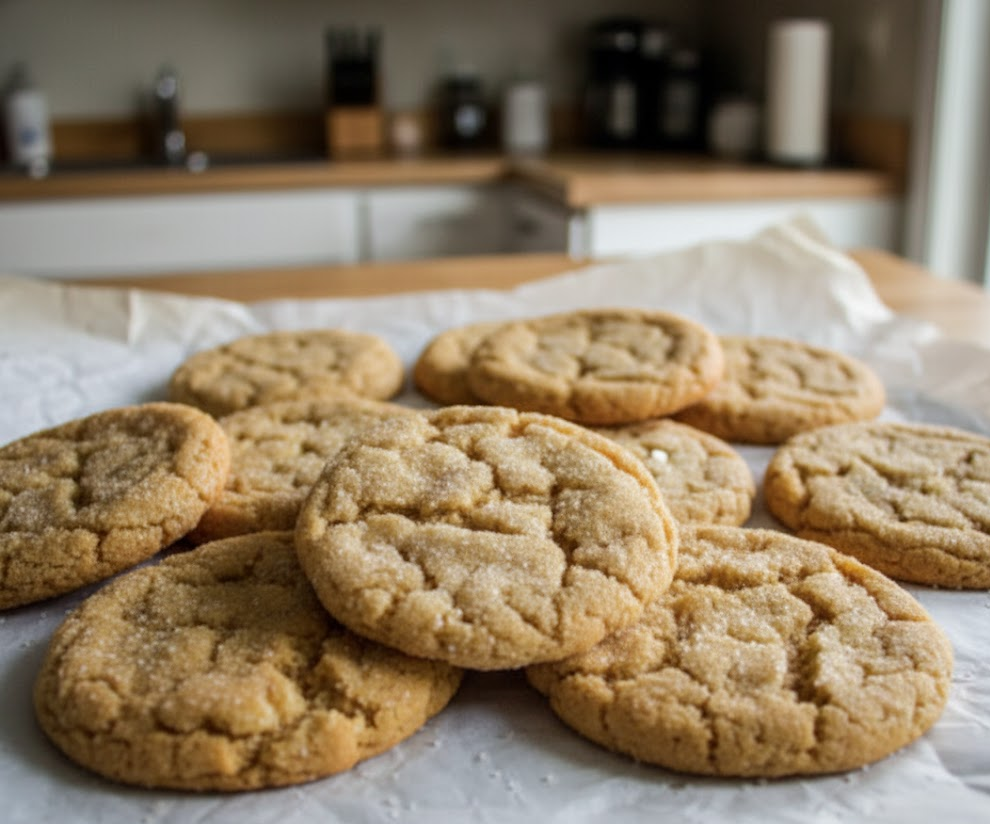
- Cane Sugar: Granulated sugar provides structure and helps the cookies spread just the right amount. It also contributes to those lovely, slightly crisp edges. We also use it for rolling the dough balls, which creates a beautiful, sparkly crust.
The Rest of the Lineup
- All-Purpose Flour: The backbone of our cookies. Be sure to measure it correctly! Spoon the flour into your measuring cup and level it off with a knife to avoid a dense, dry cookie.
- Milk & Vanilla Extract: A splash of milk adds necessary moisture for a soft texture, while vanilla extract enhances all the other flavors, especially the nutty, roasted notes of the peanut butter.
- Baking Soda & Baking Powder: We use both for the perfect lift and spread. Baking soda helps the cookies spread outwards, while baking powder gives them a gentle puff upwards.
- Salt: A pinch of salt is essential in sweet recipes to balance the flavors and make the peanut butter taste even more peanut-buttery.
How to Make Chewy Peanut Butter Cookies: A Step-by-Step Guide
This process is simple and rewarding. Grab your apron, and let’s get baking!
Step 1: Cream the Fats and Sugars
In a large mixing bowl, using a stand mixer with a paddle attachment or a handheld electric whisk, cream together the softened butter, cane sugar, and light brown sugar. Mix on medium speed for about 2-3 minutes until the mixture is light, fluffy, and the color of pale sand. This step is crucial for the cookie’s texture!
Step 2: Add Peanut Butter, Milk & Vanilla
Add the smooth peanut butter and mix until it’s fully incorporated and the mixture is uniform. Then, pour in the milk and vanilla extract, mixing until everything is creamy and well-combined. Scrape down the sides and bottom of the bowl with a spatula to make sure there are no hidden pockets of unmixed butter.
Step 3: Combine Wet and Dry Ingredients
In a separate, medium-sized bowl, whisk together the all-purpose flour, baking soda, baking powder, and salt. Add this dry mixture to the wet ingredients in the main bowl. Mix on the lowest speed just until the flour is incorporated and a soft dough forms. Be careful not to overmix here; stop as soon as you no longer see streaks of flour.
Step 4: The 30-Minute Rest (The Secret Step!)
Cover the bowl with plastic wrap and let the dough rest at room temperature for 30 minutes. This is my non-negotiable step! It allows the flour to hydrate fully, which results in a deeper flavor and a much chewier texture. While the dough rests, preheat your oven to 350°F (175°C) and line a large baking sheet with parchment paper.
Step 5: Scoop, Roll, and Bake
Use a 2-tablespoon cookie scoop (about 40g) to portion the dough. Roll each portion into a smooth ball between your palms. Pour a little extra cane sugar into a small bowl and roll each dough ball in the sugar to coat it completely. Place the sugar-coated balls 2-3 inches apart on your prepared baking sheet.
Bake for 10-12 minutes. The cookies are done when the edges are set and lightly golden, but the centers still look soft and slightly underdone. This is the key to a chewy finish!
Step 6: The Perfect Shape & Finishing Touches
As soon as you pull the cookies from the oven, grab a round cookie cutter that’s slightly larger than the cookies. Place it over one cookie and gently “scoot” it in a circular motion. This will tuck in any uneven edges, creating a perfectly round, professional-looking cookie. Repeat for all cookies. If desired, sprinkle a little flaky sea salt on top while they’re still warm.
Let the cookies cool on the baking sheet for 5 minutes before carefully transferring them to a wire rack to cool completely.
More Cookie Recipes to Love
If you’re as cookie-obsessed as I am, you’ll want to explore some of our other fan-favorite recipes. Each one is crafted with the same love and attention to detail!
- For a decadent, cake-like treat, try my Stuffed Red Velvet Cookies.
- Experience a unique and sophisticated flavor with these Pistachio NYC Cookies.
- Chocolate lovers will adore these gooey Creme Egg Stuffed Cookies.
- The ultimate indulgence: my rich Peanut Butter Nutella Cookie Recipe.
- For a classic with a twist, bake a batch of these White Chocolate Stuffed Cookies.
Storing and Freezing Your Cookies
These cookies are so good, you might not have leftovers! But if you do, here’s how to keep them fresh.
- To Store: Keep baked cookies in an airtight container at room temperature for up to 5 days. Placing a slice of bread in the container can help keep them soft.
- To Freeze Dough: Scoop the dough balls, roll them in sugar, and place them on a parchment-lined baking sheet. Freeze until solid, then transfer the frozen dough balls to a zip-top freezer bag. They will keep for up to 3 months.
- Baking from Frozen: No need to thaw! Simply place the frozen dough balls on a prepared baking sheet and bake as directed, adding 2-3 minutes to the total baking time.
Frequently Asked Questions (FAQ)
Here are answers to some common questions I get about this recipe.
Why are my peanut butter cookies dry and crumbly?
The two most common culprits for dry cookies are over-measuring the flour or over-baking. Be sure to spoon your flour into the measuring cup and level it off, rather than scooping directly from the bag. Also, pull the cookies from the oven when the centers still look slightly underdone; they will continue to bake on the hot pan.
Can I use crunchy peanut butter?
Yes, you can substitute crunchy peanut butter for smooth in a 1:1 ratio. This will add a lovely texture with bits of peanuts throughout the cookie. However, for the absolute chewiest result as designed in this recipe, smooth peanut butter is recommended.
Do I have to let the dough rest for 30 minutes?
While you can bake the dough immediately, I highly recommend the 30-minute rest at room temperature. This brief period allows the flour to fully hydrate, which deepens the peanut butter flavor and significantly improves the final chewy texture of the cookie. It’s a small step that makes a big difference!
I truly believe this is the best chewy peanut butter cookie recipe out there, and I can’t wait for you to try it. It’s a simple recipe that delivers extraordinary results. Happy baking


