Italian Easter cookies, known as Uncinetti or “little hooks” for their distinctive knot shape, are traditional lemon-scented cookies that bring authentic Italian flavor to your Easter celebration with tender texture and bright citrus notes. These authentic Italian Easter cookies combine simple pantry ingredients with fresh lemon zest to create delicate, cake-like treats that are beautifully finished with sweet lemon glaze. The charming knot or circle shapes make them instantly recognizable as traditional Italian Easter treats, while their gentle sweetness and soft texture make them perfect for enjoying with morning espresso or afternoon tea.
Whether you’re honoring Italian heritage, looking for unique Easter desserts, or simply craving something different from typical holiday cookies, these Uncinetti deliver homemade elegance with minimal effort. The recipe yields 15 cookies that stay fresh for up to a week, making them ideal for preparing ahead of Easter gatherings or packaging as thoughtful homemade gifts.
Why You’ll Love This Italian Easter Cookies Recipe
These Italian Easter cookies prove that simple ingredients can create extraordinary flavor when combined thoughtfully. Fresh lemon zest perfumes the dough with bright, natural citrus that tastes far superior to artificial extracts. The combination of melted butter and milk creates tender, almost biscuit-like texture that’s softer than typical crunchy cookies but not quite as delicate as cake. This unique texture makes them perfect for dunking in coffee without falling apart.
The shaping process is surprisingly fun and forgiving—rolling the dough into ropes and tying simple knots feels meditative and connects you to generations of Italian home bakers who’ve made these same cookies for Easter celebrations. The low baking temperature of 300°F ensures gentle, even cooking that prevents over-browning while creating that characteristic pale golden color.
The optional lemon glaze adds beautiful shine and extra sweetness, though these cookies are equally delicious simply dusted with powdered sugar for a more rustic presentation. Their mild sweetness makes them appropriate for breakfast alongside coffee, unlike intensely sweet American cookies. They also freeze beautifully, allowing you to prepare the dough weeks ahead and bake fresh cookies whenever needed.
Ingredients for Italian Easter Cookies
Cookie Dough
- 1½ cups + 2 tablespoons all-purpose flour (200 grams total) – Creates tender structure
- 3¼ tablespoons granulated sugar – Provides subtle sweetness
- 1 teaspoon baking powder – Creates slight lift and tender crumb
- 1 pinch salt (¼ teaspoon if using unsalted butter) – Enhances flavors
- Zest of 1 lemon – Delivers authentic Italian citrus flavor
- 1 large egg – Binds ingredients and adds richness
- ¼ cup butter, melted and cooled – Creates tender texture
- 4 tablespoons milk (2% or whole) – Brings dough together
Lemon Glaze
- 1½-2 cups powdered sugar, sifted – Creates smooth, sweet coating
- 1 tablespoon lemon juice (approximately) – Adds citrus flavor and thins glaze
- 1 tablespoon milk (approximately) – Adjusts consistency to desired thickness
Ingredient Notes
Flour Measurement: The recipe specifies 200 grams total, which equals 1½ cups plus 2 tablespoons. When doubling or tripling, use the gram measurement for accuracy or carefully measure the cups and tablespoons.
Butter or Oil: Traditional recipes use melted butter, but one reader successfully substituted light olive oil for more authentic Mediterranean flavor and lighter texture. If using olive oil, choose a mild variety to avoid overpowering the lemon.
Lemon Zest: Use fresh lemons and zest only the yellow outer peel, avoiding the bitter white pith underneath. One medium lemon yields about 1 tablespoon of zest.
Milk Options: Whole milk creates the richest texture, but 2%, almond milk, oat milk, or any dairy-free alternative works perfectly.
Salt Consideration: If using salted butter, a pinch of salt is sufficient. If using unsalted butter, add ¼ teaspoon salt to properly season the dough.
Glaze Consistency: Start with less liquid and add more as needed. The glaze should be thick enough to coat the back of a spoon but thin enough to drizzle smoothly. Too thin and it runs off; too thick and it doesn’t spread nicely.
Step-by-Step Instructions
Step 1 – Prepare Your Oven and Pan
Preheat your oven to 300°F (150°C). Line a large cookie sheet with parchment paper and set aside. This low temperature ensures gentle, even baking without over-browning.
Step 2 – Combine Dry Ingredients
In a large bowl, whisk together the all-purpose flour, granulated sugar, baking powder, salt, and lemon zest until evenly distributed. The whisking helps incorporate the lemon zest throughout the flour mixture so every cookie has consistent citrus flavor.
Step 3 – Add Wet Ingredients
Make a well in the center of the dry ingredients. Add the egg, melted and cooled butter, and milk directly into the well. Using a fork, begin combining the wet ingredients first, then gradually incorporate the surrounding dry ingredients until the mixture is almost combined. The dough will look shaggy and slightly rough at this stage.
Step 4 – Knead the Dough
Transfer the shaggy dough to a clean, flat surface. Gently knead with your hands for about 1-2 minutes until it forms a smooth, cohesive dough. Don’t overwork it—just knead until the texture is uniform and no longer crumbly. The dough should be soft and pliable but not sticky.
Step 5 – Shape the Cookies
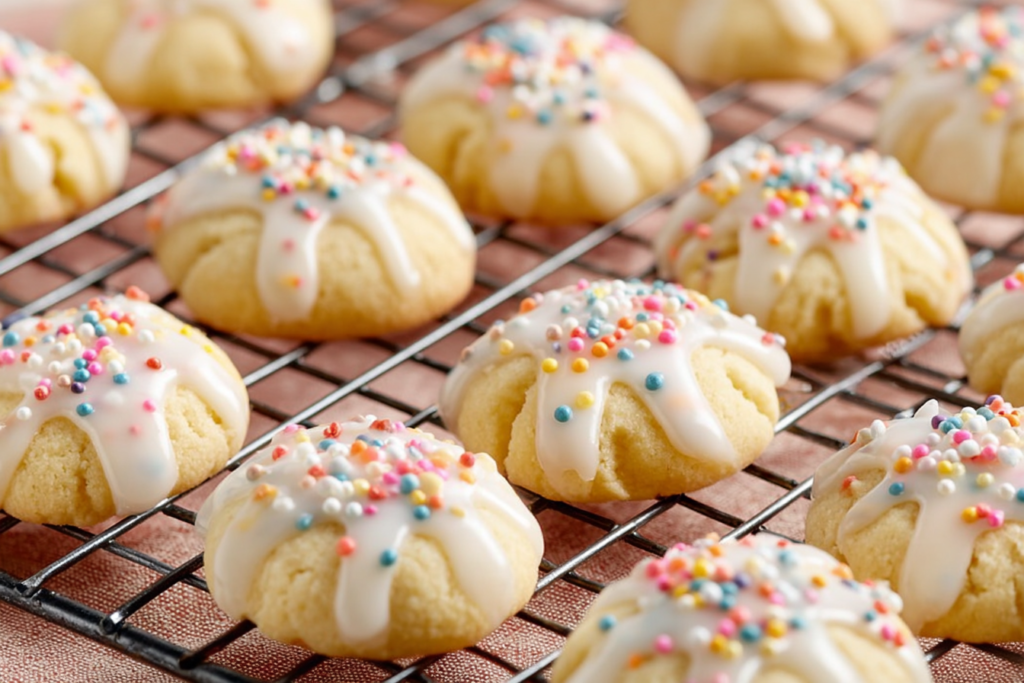
Break off small pieces of dough and roll them between your palms and the work surface to form thin ropes about 5-6 inches (13-16 cm) long. The ropes should be quite thin—about pencil thickness or slightly thicker. To form traditional knots, simply tie each rope into a loose knot as you would tie a shoelace. Alternatively, join the ends of ropes together to form circles if you prefer. Both shapes are traditional.
Step 6 – Bake Until Golden
Place shaped cookies on the prepared cookie sheet, spacing them about 1 inch apart as they don’t spread much. Bake for approximately 15-18 minutes or until the cookies are lightly golden, especially on the bottoms. Keep a close eye on them toward the end of baking—you want pale golden color, not deep brown. One reader mentioned successful results baking at 350°F for 13 minutes, so you can experiment with that higher temperature for faster baking.
Step 7 – Cool Completely
Remove the cookie sheet from the oven and let the cookies cool on the pan for 5 minutes, then transfer to a wire cooling rack to cool completely before glazing. Glazing warm cookies causes the glaze to melt and run off rather than setting properly.
Step 8 – Prepare and Apply Glaze
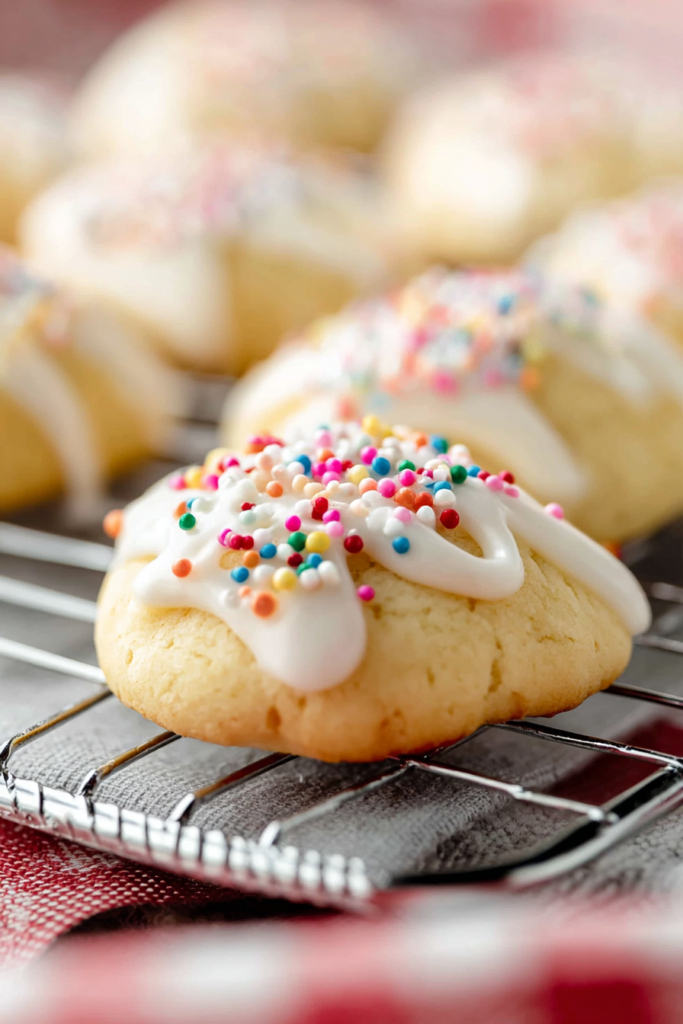
In a small bowl, sift the powdered sugar to remove any lumps. Add the lemon juice and milk, whisking until smooth. Adjust the consistency by adding more liquid (thinner glaze) or more powdered sugar (thicker glaze) until you reach your desired consistency. Dip the top of each cooled cookie into the glaze, allowing excess to drip off, or use a spoon to drizzle glaze over the cookies. Alternatively, simply dust cooled cookies with powdered sugar for rustic presentation.
Step 9 – Let Glaze Set
Place glazed cookies on a wire rack or parchment paper and let them sit at room temperature for about 30 minutes until the glaze sets and hardens. Once set, they’re ready to serve or package.
Pro Tips for Success
Watch Baking Time: Baking times are approximate and vary by oven. Start checking at 15 minutes and look for light golden color on the bottoms. Overbaking makes these cookies dry rather than tender.
Keep Ropes Thin: Thicker ropes take longer to bake through and can remain doughy in the center. Aim for about pencil thickness for best results.
Cool Butter Before Adding: If you add hot melted butter directly to the flour mixture, it can cook the egg and create lumps. Let butter cool to room temperature first.
Don’t Skip Kneading: The brief kneading step transforms shaggy dough into smooth, workable consistency that shapes easily into ropes.
Freeze the Dough: Make dough ahead and freeze in an airtight plastic bag or container for up to three months. Thaw in the refrigerator overnight before shaping and baking.
Storage: Keep baked cookies in an airtight container at room temperature where they’ll stay fresh for up to one week. Their texture actually improves after a day as flavors meld.
Flavor Variations
Orange Easter Cookies: Replace lemon zest with orange zest and use orange juice instead of lemon juice in the glaze for a different citrus profile.
Anise Italian Cookies: Add ½ teaspoon anise extract to the dough along with the lemon zest for traditional Italian anise flavor that’s popular at Easter.
Almond Uncinetti: Replace 2 tablespoons of the flour with almond flour and add ¼ teaspoon almond extract for nutty depth.
Vanilla Glazed: Use vanilla extract instead of lemon juice in the glaze and add colorful Easter sprinkles for festive presentation.
Chocolate Dipped: Skip the lemon glaze and dip one end of each cooled cookie in melted dark or white chocolate, then let set on parchment paper.
Serving Suggestions
Serve Italian Easter cookies on a decorative platter as part of your Easter dessert table alongside our Valentine brownies and red velvet cookies for a diverse spread. They pair beautifully with espresso, cappuccino, coffee, or tea for breakfast or afternoon refreshment. The mild sweetness makes them appropriate for morning enjoyment without being overwhelmingly sugary.
Arrange them in Easter baskets lined with colorful tissue paper, or package them in clear cellophane bags tied with pastel ribbons for homemade Easter gifts. They also make lovely additions to Easter brunch buffets, served alongside fresh fruit, yogurt parfaits, and other breakfast pastries.
For authentic Italian presentation, serve them on a simple white platter with fresh lemon slices as garnish. The pale golden cookies with white glaze create an elegant, understated aesthetic that celebrates the beauty of simple, quality ingredients.
Storage and Freezing Instructions
Room Temperature: Store baked cookies in an airtight container at room temperature for up to one week. The texture actually improves after a day as the flavors meld and the cookies soften slightly.
Refrigerator: While not necessary, refrigeration extends shelf life up to two weeks. Bring cookies to room temperature before serving for best flavor and texture.
Freezing Dough: Freeze unbaked dough in an airtight plastic bag or container for up to three months. Thaw in the refrigerator overnight, then bring to room temperature before shaping and baking.
Freezing Baked Cookies: Freeze baked, unglazed cookies in airtight containers for up to three months. Thaw at room temperature and add fresh glaze before serving.
Gift Packaging: These cookies travel well and maintain their shape beautifully, making them ideal for shipping or transporting to Easter gatherings.
Nutrition Facts (Per Serving)
| Nutrient | Amount |
|---|---|
| Calories | 76 |
| Protein | 2g |
| Carbohydrates | 9g |
| Fat | 4g |
| Fiber | 1g |
| Sodium | 38mg |
Based on 15 servings without glaze. Nutritional values are approximate.
FAQ About Italian Easter Cookies
Why are my Italian Easter cookies hard instead of tender?
Hard cookies usually result from overbaking or using too much flour. Make sure you measure flour correctly by spooning it into measuring cups and leveling off rather than scooping directly from the bag, which packs in excess flour. Also check your cookies at 15 minutes rather than waiting the full 18 minutes—ovens vary significantly, and even one or two extra minutes can dry them out.
Can I make these cookies without lemon zest?
While lemon zest is traditional and provides signature flavor, you can substitute orange zest, lime zest, or even ½ teaspoon vanilla extract if needed. The cookies will still be delicious but won’t have that authentic Italian Easter cookie flavor that fresh lemon zest provides.
What’s the difference between baking at 300°F versus 350°F?
The traditional 300°F creates gentle, even baking that produces pale golden cookies with very tender texture. Baking at 350°F (as one reader suggested) cooks them faster in about 13 minutes and creates slightly more browning. Both methods work—choose based on your time constraints and preferred appearance.
How do I prevent the glaze from being too runny or too thick?
Start with less liquid than you think you need, then add more gradually until you reach the consistency where the glaze coats the back of a spoon but still drips slowly. If it becomes too thin, add more sifted powdered sugar. If too thick, add milk or lemon juice by the teaspoon until properly thinned.
Final Thoughts
Italian Easter cookies bring authentic Italian tradition to your Easter celebration with their delicate lemon flavor, tender texture, and charming shapes that connect you to generations of Italian home bakers. These simple yet elegant cookies prove that the best recipes don’t require expensive ingredients or complicated techniques—just quality basics combined with care and attention. Whether you’re honoring Italian heritage, creating new Easter traditions, or simply enjoying something deliciously different, these Uncinetti deliver homemade goodness that makes every bite feel like a celebration.


