As the air grows crisp and festive lights begin to twinkle, there’s nothing quite like the comforting aroma of Christmas sugar cookies baking in the oven. For me, Sophie, and for countless families across America, these simple, sweet cut-out cookies are more than just a treat – they’re a cherished holiday tradition, a canvas for creativity, and a delicious way to gather loved ones.
But let’s be honest: finding the perfect no-spread sugar cookie recipe can feel like searching for a hidden gem. We’ve all been there – carefully cutting out adorable gingerbread men or delicate stars, only for them to emerge from the oven as amorphous blobs. It’s frustrating, especially when you’re planning a fun holiday cookie decorating session with the kids or preparing a thoughtful gift for friends.
That’s why I’ve dedicated countless hours – and over nine distinct testing sessions – to perfecting this easy Christmas sugar cookie recipe. My goal was simple: create a dough that’s a dream to work with, holds its shape beautifully (no more cookie-spreading woes!), and bakes up into a delightfully tender, buttery cookie that’s absolutely irresistible. And I’m thrilled to say, this recipe delivers on all fronts!
Why This is THE BEST No-Spread Christmas Sugar Cookie Recipe You’ll Ever Make
After years of trial and error, adapting, and refining, I’ve developed a sugar cookie recipe that consistently produces perfect results. This isn’t just another cookie recipe; it’s a tested-and-true method backed by my extensive experience in the kitchen, specifically designed to eliminate the common pitfalls of sugar cookie baking. Here’s why this recipe stands out and why it’s become a staple in my own family’s holiday traditions:
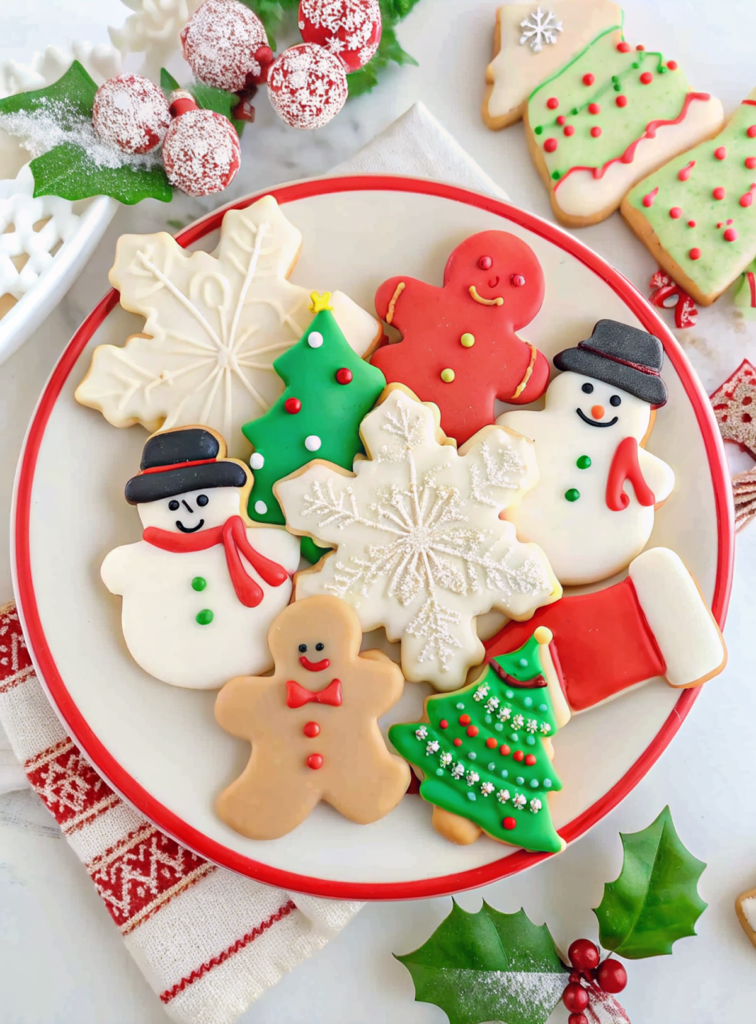
- Guaranteed No-Spread Goodness: This is the Holy Grail of cut-out cookies! My secret lies in the precise ratio of ingredients, proper creaming technique, and crucial chilling time. Your intricate snowflake and Santa shapes will come out of the oven looking exactly as they went in. This alone saves so much frustration and wasted dough!
- Simple Ingredients, Exceptional Flavor: You won’t find any obscure ingredients here. Just common pantry staples that, when combined with care, create a rich, buttery, and subtly sweet cookie base. The hint of almond extract alongside the vanilla adds a depth of flavor that’s truly addictive.
- Easy to Work With: The dough is forgiving, pliable, and easy to roll out without sticking excessively. This makes the cookie-cutting process a joy, whether you’re a seasoned baker or getting little hands involved for the first time.
- Perfectly Tender Texture: These cookies aren’t too soft or too crunchy. They have that ideal tender bite that melts in your mouth, making them equally delicious plain or lavishly decorated.
- A Blank Canvas for Creativity: Because they hold their shape so well and have a balanced sweetness, these cookies are the ultimate foundation for all your decorating dreams. From vibrant royal icing to simple sprinkles, they’re ready for any festive touch.
- Expert-Tested and Approved: As a dedicated recipe developer, I don’t release a recipe until it’s been thoroughly vetted. This specific Christmas Sugar Cookie recipe has undergone rigorous testing (more than 9 batches!), ensuring every measurement, every step, and every tip is optimized for your success. My family gatherings now expect these cookies every year, a testament to their consistent deliciousness!
Ingredients for Your Festive Sugar Cookies
Gathering your ingredients beforehand makes the baking process smooth and enjoyable. Remember, using room temperature butter is critical for that no-spread magic!
- 1 cup (2 sticks) unsalted butter, softened to room temperature
- 1 cup granulated sugar
- 1 tablespoon vanilla extract
- 1 tablespoon almond extract (optional, but highly recommended for classic flavor!)
- 1 large egg
- ½ teaspoon salt
- ½ teaspoon baking powder
- 2¾ cups all-purpose flour
Pro-Tip: Using high-quality vanilla and almond extracts can really elevate the flavor of your cookies. Don’t skimp on these!
Step-by-Step Instructions: Crafting Your Perfect Christmas Sugar Cookies
Follow these detailed steps closely, and you’ll be on your way to a batch of picture-perfect cut-out sugar cookies that will delight everyone!
- Cream the Butter: In a large mixing bowl, using an electric mixer, beat the softened butter on medium speed until it is light, fluffy, and smooth. This should take about 1-2 minutes.
- Add Sugar and Cream Thoroughly: Gradually add the granulated sugar to the butter. Continue to beat on medium-high speed for at least 5 minutes. This step is crucial! You want the mixture to be very light in color and airy. Thoroughly creaming the butter and sugar creates tiny air pockets, which contribute to the cookie’s texture and also prevents spreading by forming a strong emulsion.
- Incorporate Wet Ingredients: Reduce the mixer speed to low. Add the vanilla extract, almond extract (if using), and the large egg. Mix until just combined, scraping down the sides of the bowl as needed. Be careful not to overmix once the egg is added.
- Add Dry Ingredients (Part 1): In a separate medium bowl, whisk together the salt, baking powder, and half of the all-purpose flour (about 1 ⅜ cups). Gradually add this dry mixture to the wet ingredients in the large bowl, mixing on low speed until just combined.
- Add Dry Ingredients (Part 2) & Finish Mixing: Add the remaining flour to the dough. Mix on low speed until almost fully combined. To avoid overworking the dough, which can lead to tough cookies, switch to a rubber spatula and gently fold the remaining flour in by hand until no streaks of flour remain. The dough should be soft but not sticky.
- Divide and Roll Dough: Divide the dough into two equal portions. Place each portion onto a large sheet of plastic wrap. Using a rolling pin, roll out each portion of dough to a uniform thickness of ⅜ inch (about 1 cm). This precise thickness ensures even baking and sturdy cookies for decorating.
- Chill, Chill, Chill!: Cover the rolled-out dough tightly with plastic wrap and transfer it to the refrigerator. Chill for a minimum of 4 hours, or ideally, overnight. This chilling process is absolutely essential to prevent spreading and maintain the integrity of your cut-out shapes. Do NOT skip this step!
- Preheat Oven & Prep Baking Sheets: Once the dough is thoroughly chilled, preheat your oven to 350°F (175°C). Line a baking sheet with either parchment paper or a silicone baking mat.
- Cut Out Cookies: Unwrap one portion of the chilled dough. Using your favorite Christmas cookie cutters, cut out various festive shapes. Place the cut-out cookies about 2 inches apart on the prepared baking sheet.
- Bake to Perfection: Bake for 10-14 minutes, or until the edges are lightly golden and the centers no longer look wet or oily. The cookies should still be pale on top. Baking time will vary based on your oven and the size/thickness of your cookies.
- Cool Completely: Remove the baking sheet from the oven and let the cookies cool on the sheet for 5 minutes before carefully transferring them to a wire rack to cool completely. This prevents them from breaking. Resist the urge to decorate warm cookies – the icing will melt!
Expert Tips for Perfect Christmas Sugar Cookies Every Time
Baking is a science, but a little bit of artistry and insider knowledge can make all the difference. Here are Sophie’s tested tips to ensure your holiday cookies are nothing short of spectacular:
- Room Temperature Butter is Non-Negotiable: This is probably the most critical tip for no-spread cookies. Your butter should be soft enough to indent with a finger but not greasy or melted. If it’s too cold, it won’t cream properly with the sugar. If it’s too warm, it will melt too quickly in the oven, causing your cookies to spread.
- Creaming Time Matters: Don’t rush step 2! Beating the butter and sugar for a full 5 minutes (or even a little longer!) incorporates air and creates a stable base that resists spreading. It’s a key factor in achieving that perfect cookie texture.
- Don’t Overwork the Dough: Once the flour is added, mix only until just combined. Overmixing develops the gluten in the flour, leading to tough, dense cookies. Finish mixing with a spatula if needed.
- Chill the Dough (Seriously!): I cannot stress this enough. The 4-hour (or overnight) chill solidifies the butter, preventing it from melting too quickly in the oven and helping the cookies maintain their shape. If your kitchen is warm, you might even chill the cut-out cookies on the baking sheet for 10-15 minutes before baking.
- Roll to Even Thickness: A consistent ⅜-inch thickness ensures all your cookies bake evenly. If some are thinner, they’ll burn before thicker ones are done.
- Re-roll Dough Smartly: When re-rolling scraps, combine them gently. Avoid overworking. If the dough gets too warm and sticky, re-chill it for 15-20 minutes before cutting more shapes. You can also freeze leftover dough for future use!
- Test Batch: If it’s your first time using this recipe or your oven is new, bake one or two cookies first. This helps you gauge the exact baking time and adjust if needed before baking the whole batch.
- Use Parchment Paper or Silicone Mats: These prevent sticking and promote even baking, ensuring the bottoms of your cookies don’t get too dark.
Decorating Your Christmas Sugar Cookies: A Festive Canvas
Once your beautiful, perfectly shaped cookies are completely cool, the real fun begins! Decorating is where you can infuse personality and festive cheer into your Christmas sugar cookies. This is also where you can add a “healthy twist” by making conscious choices.
- Easy Royal Icing: For professional-looking, crisp designs, royal icing is the way to go. You can easily make it by following the directions on a package of meringue powder. My personal touch is adding 1 teaspoon each of vanilla and almond extract, plus 1 tablespoon of corn syrup, for a smooth consistency and enhanced flavor.
- Natural Food Colorings: Instead of artificial dyes, consider using natural food colorings derived from fruits, vegetables, and spices. Beetroot powder for red, spirulina for green, turmeric for yellow – these can give you beautiful, subtle shades and contribute to a healthier approach to decorating.
- Simple Glaze: A simple powdered sugar glaze (powdered sugar, milk, and a splash of extract) is quick, easy, and sets beautifully.
- Buttercream Frosting: If you prefer a softer, creamier texture, a classic buttercream frosting is always a hit. Just be aware that buttercream doesn’t harden, so stacking these cookies might be tricky.
- Beyond Icing: Think outside the box! Edible glitter, various sprinkles, crushed candy canes, or even melted white chocolate drizzle with some festive nuts can add wonderful texture and visual appeal.
- Mindful Decorating: While it’s easy to go overboard, try decorating a few cookies elaborately and keeping others simpler. This allows you to appreciate the natural beauty of the cookie itself and manage sugar intake, aligning with a more mindful “comfort food with a healthy twist” approach.
Frequently Asked Questions About Christmas Sugar Cookies
Here are some common questions I get asked about these holiday favorites, along with my expert answers:
Why did my Christmas sugar cookies spread?
Cookies typically spread due to butter being too warm, not creaming butter and sugar long enough, or insufficient chilling time. Our recipe emphasizes room temperature butter and at least 5 minutes of creaming, followed by 4 hours or overnight chilling to prevent spreading and ensure your cookies hold their festive shapes perfectly.
Can I make this sugar cookie dough ahead of time?
Absolutely! This dough is fantastic for make-ahead baking. You can chill the dough in the refrigerator for up to 3 days, or freeze it for up to 3 months. Just be sure to let frozen dough thaw in the fridge before rolling and cutting.
What’s the best way to decorate Christmas sugar cookies?
For perfectly crisp designs, royal icing is highly recommended, and our recipe notes include a simple method using meringue powder. You can also use buttercream, glaze icing, or even melted chocolate. Get creative with sprinkles, edible glitter, or natural food colorings for a healthier twist!
How long do homemade Christmas sugar cookies stay fresh?
Stored in an airtight container at room temperature, undecorated baked cookies will stay fresh for about 5-7 days. If decorated with royal icing, they can last even longer due to the sugar acting as a preservative. You can also freeze baked cookies for up to 3 months.
Can I make these cookies without almond extract?
Yes, if you’re not a fan of almond extract or have allergies, you can simply omit it. The cookies will still be delicious with just the vanilla extract. You could also experiment with other extracts like lemon or peppermint for different flavor profiles, especially for holiday baking.
Storing and Freezing Your Christmas Sugar Cookies
Proper storage ensures your delicious cookies last as long as possible, whether you’re planning to enjoy them over several days or save some for later.
- Undecorated Baked Cookies: Once completely cooled, store them in an airtight container at room temperature for up to 5-7 days.
- Decorated Cookies (with Royal Icing): Once the royal icing has fully hardened (this can take several hours or overnight), store them in a single layer in an airtight container, separated by parchment paper, at room temperature for up to 2 weeks. The icing acts as a preservative.
- Dough: Tightly wrapped in plastic, the dough can be refrigerated for up to 3 days or frozen for up to 3 months. Thaw frozen dough in the refrigerator overnight before rolling and cutting.
- Baked Cookies (for Freezing): Arrange completely cooled cookies in a single layer on a baking sheet and freeze until solid. Then, transfer them to a freezer-safe airtight container or bag, separating layers with parchment paper. They will keep for up to 3 months. Thaw at room temperature before decorating or serving.
More Festive Cookie Recipes to Sweeten Your Season
If you’ve loved making these Christmas sugar cookies, you’re in for a treat! The holiday season is a fantastic time to explore even more delicious cookie creations. From rich, gooey centers to vibrant, unique flavors, SweetCraft Recipes has you covered:
- For an indulgent twist, try our Stuffed Red Velvet Cookies Recipe – a true showstopper!
- If you’re a fan of big, chewy cookies, you’ll adore our Pistachio NYC Cookies Recipe.
- Looking for a fun, seasonal surprise? Our Creme Egg Stuffed Cookies Recipe are incredibly popular!
- For a classic flavor combo, you can’t go wrong with our Peanut Butter Nutella Cookie Recipe.
- And if white chocolate is your weakness, our White Chocolate Stuffed Cookies are pure bliss.
Bring the Magic Home This Holiday Season
There’s something truly special about the process of baking and decorating Christmas sugar cookies. It’s a wonderful way to connect with family, create lasting memories, and share homemade joy with those you love. With this no-spread sugar cookie recipe, you’re armed with all the knowledge and techniques you need to bake the best batch yet.
So, gather your ingredients, turn on some holiday music, and get ready to create edible works of art. Whether you’re making them for Santa, gifting them to neighbors, or simply enjoying them with a cup of hot cocoa by the fire, these best Christmas sugar cookies are sure to become a cherished part of your holiday tradition. Happy baking, and happy holidays from my kitchen to yours!


